Toyota RAV4 (XA40) 2013-2018 Service Manual: Ventilation valve
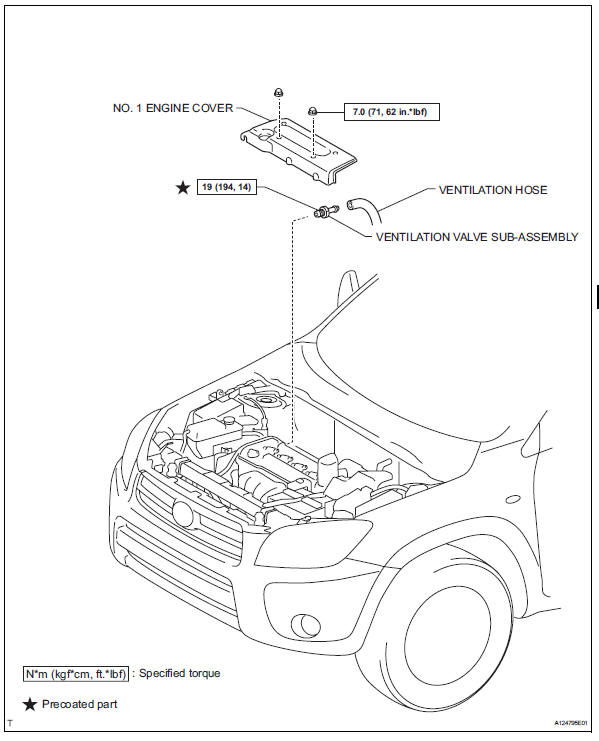
Components
Removal
- Remove no. 1 Engine cover (see page em-22)
- Remove ventilation valve sub-assembly
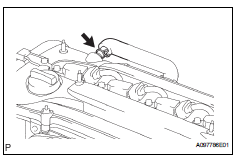
- Disconnect the ventilation hose from the ventilation valve.
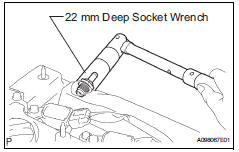
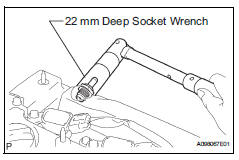
- Using a 22 mm deep socket wrench, remove the ventilation valve.
Inspection
- Inspect ventilation valve sub-assembly
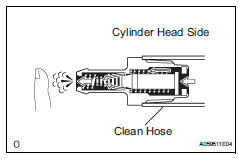
- Install a clean hose to the ventilation valve.
- Check the ventilation valve operation.
- Blow air into the cylinder head side, and check that air passes through easily.
Caution:
Do not suck air through the valve.
Petroleum substances inside the valve are hazardous to your health.
- Blow air into the intake manifold side, and
check that air passes through with difficulty.
If the result is not as specified, replace the ventilation valve sub-assembly.

- Remove the clean hose from the ventilation valve.
Installation
- Install ventilation valve sub-assembly
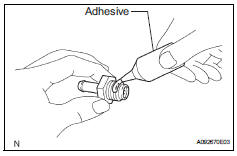
- Apply adhesive to 2 or 3 threads of the ventilation valve.
Adhesive: toyota genuine adhesive 1324, three bond 1324 or equivalent
- Using a 22 mm deep socket wrench, install the ventilation valve.
Torque: 19 n*m (194 kgf*cm, 14 ft.*Lbf)
- Connect the ventilation hose.
- Install no. 1 Engine cover (see page em-43)
- Check for engine oil leaks
 Vacuum switching valve
Components
Removal
Disconnect cable from negative battery
terminal
Caution:
Wait at least 90 seconds after disconnecting the
cable from the negative (-) battery terminal to
prevent ai ...
 Air fuel ratio sensor
Components
On-vehicle inspection
Check air fuel ratio compensation system
Connect the intelligent tester to the dlc3.
Turn the ignition switch on.
Select the following menu item ...
Other materials:
Diagnosis system
Description
Air conditioning system data and the diagnostic
trouble codes (dtcs) can be read through the
data link connector 3 (dlc3) of the vehicle. When
the system seems to be malfunctioning, use the
intelligent tester to check for malfunctions and
perform troubleshooting.
...
Terminals of ecu
Check transponder key amplifier
Disconnect the e5 amplifier connector.
Measure the resistance of the wire harness side
connector.
If the result is not as specified, there may be a
malfunction in the wire harness.
Reconnect the e5 amplifier connector.
Measure the resist ...
Front console illumination
On-vehicle inspection
Inspect front console illumination
Connect the battery's positive (+) lead to terminal 1
and the negative (-) lead to terminal 2, then check
that the light comes on.
Ok:
light comes on.
If the result is not as specified, replace the front
console illumin ...
